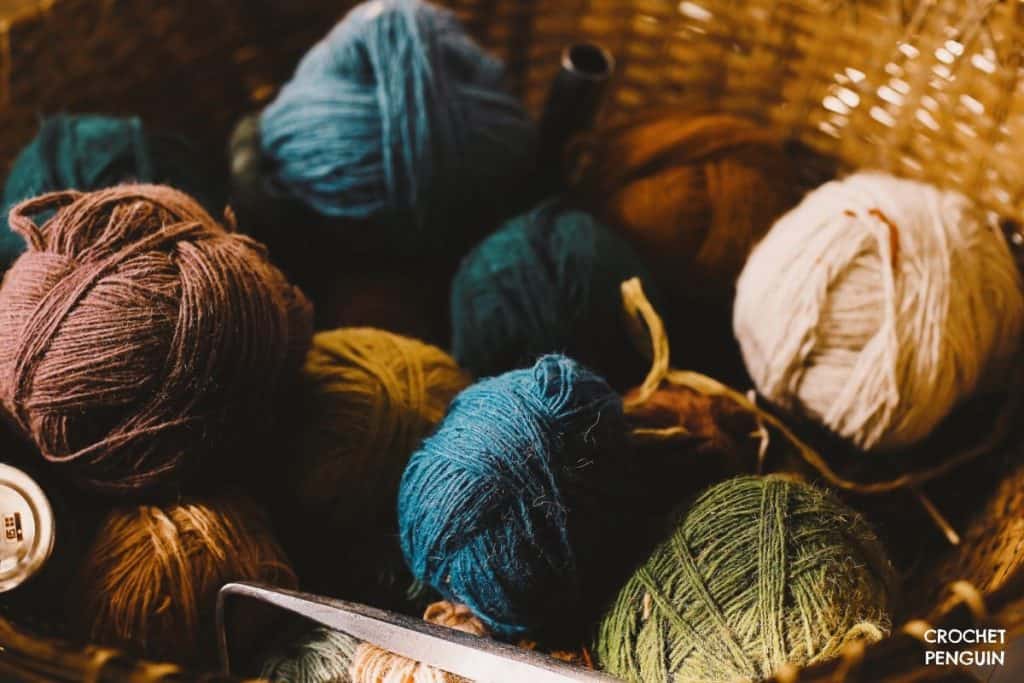
I explain what Amish swifts are, how to use them, and the best models. They’ll make your crocheting easier!
Note: If you click a link on this page and make a purchase, I may receive a commission, but at no extra cost to you. Learn More.
I reviewed, fact checked and updated this post on April 29, 2023.
Table Of Contents
- Stanwood Needlecraft Tabletop Amish Style
- CHIAOGOO Amish Wooden Yarn Swift
- Large Hard Maple Yarn Swift
- Beka Yarn Swift
- What Are Amish Yarn Swifts?
- How To Use An Amish Style Swift
Best Amish Yarn Swifts
Stanwood Needlecraft Tabletop Amish Style
No products found. No products found.This Stanwood Amish swift is functional, small, and portable. Useful for many sized hanks. Excellent if you have limited space.
Features
- Solid wood
- Holds skeins between 2 1/2 – 6 ft. in circumference
Pros
- Holds various sizes of yarn hanks
- Straightforward to put together
- Four non-slip pads on the bottom
- Pegs go in and out of slots
- Smooth
- No splinters in the wood
- The manufacturer provides instructions
- Fits flat in its box when taken apart
- Spins without squeaking
- Takes up less room compared to an umbrella swift
- Gets the job done
Cons
- When you pick up the yarn swift, it falls apart
- Over time, the arms don’t spin as smoothly, which makes friction
CHIAOGOO Amish Wooden Yarn Swift

The CHIAOGOO Amish style swift has a smooth wooden surface, doesn’t slide, and holds various sizes of hanks. Its small size makes it excellent if you don’t have space for a full yarn winding setup.
Features
- Measurement guide on arms for different sizes of hanks
- Four non-stick pads to prevent sliding
- Solid wood
- Four adjustable pegs
Pros
- Affordable
- Simple design
- Sturdy
- Easier to handle than a clamp based swift
- Disassembles easily
- Lightweight
- Portable
- Doesn’t slide on surfaces
Cons
- Difficult to store
Beka Yarn Swift
The Beka Yarn Swift is excellent if you have a yarn winding setup. Although bulky, it looks lovely displayed in your yarn winding station. This swift holds many hank sizes.
Features
- Hard maple wood
- Holds skeins up to 72″
- Weighs 3 pounds
- Instructions included
Pros
- Looks attractive
- Tangle-free winding
- Sturdy
- Ball bearings make the swift spin smoothly
- Easy to assemble with no tools
Cons
- Not collapsible
- Sometimes snags yarn
Hard Maple Wood Winder With Ball Bearing Base – Arms Fit Up To 72″

The Fiber Artist Supply Co. Yarn Swift has remained super popular with crafters since 2008! The tabletop swift arm design features a sealed metal ball bearing system, which sets it apart from other tabletop yarn swifts. Other styles have a wood-on-wood drive system which is problematic, as it leads to slack-fitting and excessive “play” in the arms while they rotate.
Constructed from quality maple and cabinet-grade maple plywood, this yarn swift is built to last for years, and its cost won’t break the bank like umbrella yarn swifts. The tabletop design also allows users to wind or unwind from anywhere they place the swift. You can even use it on the floor. The high-quality rubber feet, affixed to the base, keeps the swift securely in place.
Users can create skeins of 24″, 36″, 48″, 60″, or 72″ circumference by placing four 3/8″ birch pegs in identical spots along the arms. Excellent for knitting and crocheting.
It packs away easily for storage and the seller offeres free shipping to the USA only.
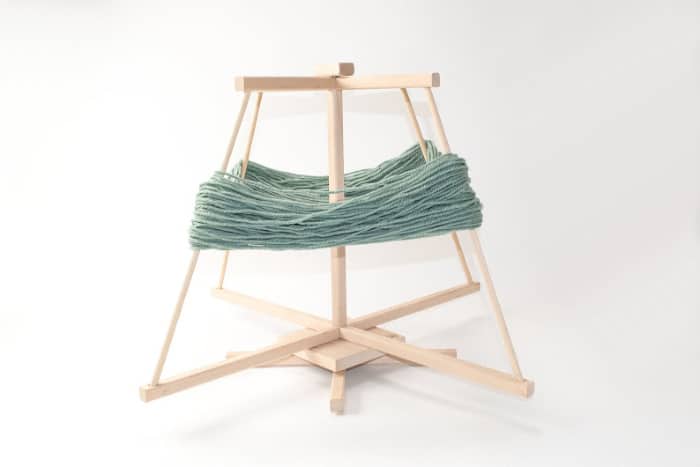
What Are Amish Yarn Swifts?
This type of swift has a table-top design. It sits on a table instead of being clamped on like an umbrella swift. The main yarn swifts are Amish-style yarn swifts and umbrella-style yarn swifts.
An Amish swift has a base of two short wooden pieces fitting together in the center. The bottom sits on the table without a clamp. It also has two long pieces of wood on top, set diagonally across. Those have multiple holes where pegs fit. You wrap the yarn around the pins. It’s often use in combination with a yarn winder.
How To Use An Amish Style Swift
Assembly
Here are video instructions for the Beka Yarn Swift.
Here is a tutorial by Tamara from Moogly for how to use this item.
Parts
- Short wooden pieces x2
- Long wooden plank pieces with multiple holes x2
- Longer pegs x4
- Shorter peg x1
Step 1
- Take the two shorter pieces (the base)
- They have a notch in the center
- One with a gap facing up and the other facing down
- The latter has a hole at the top
- Fit them together
Step 2
- Take the short peg
- Place it into the hole at the top of the base.
Step 3
- Get the long pieces, with the holes facing up
- Put them together like the base
- They’ll look like a cross.
- Place them over the peg in the base
- (There’s a hole for the peg in the two arms)
Step 4
- Take the four pegs
- Slot them into the holes in the arms in the same position on each
- The pegs hold the hank in place while you wind
There are multiple holes to fit different circumferences of rings of yarn.
These instructions are for the Stanwood and ChiaoGoo yarn swifts.
Using The Tabletop Yarn Swift
Once you untwist your yarn hank, you’re ready to put it on your swift.
- Place your untwisted hank onto the pegs
- Adjust how tight the yarn is by moving the pegs
- Cut off the ties keeping the hank together.
- If using a yarn winder, attach the end into the two holes
- Then into the little notches on top of the winder’s cylinder
- Start winding!
Conclusion
Hopefully, this post helped you learn the best models available. Any products I haven’t covered? Let me know. What do you like about this style of swift?
Pin For Later
